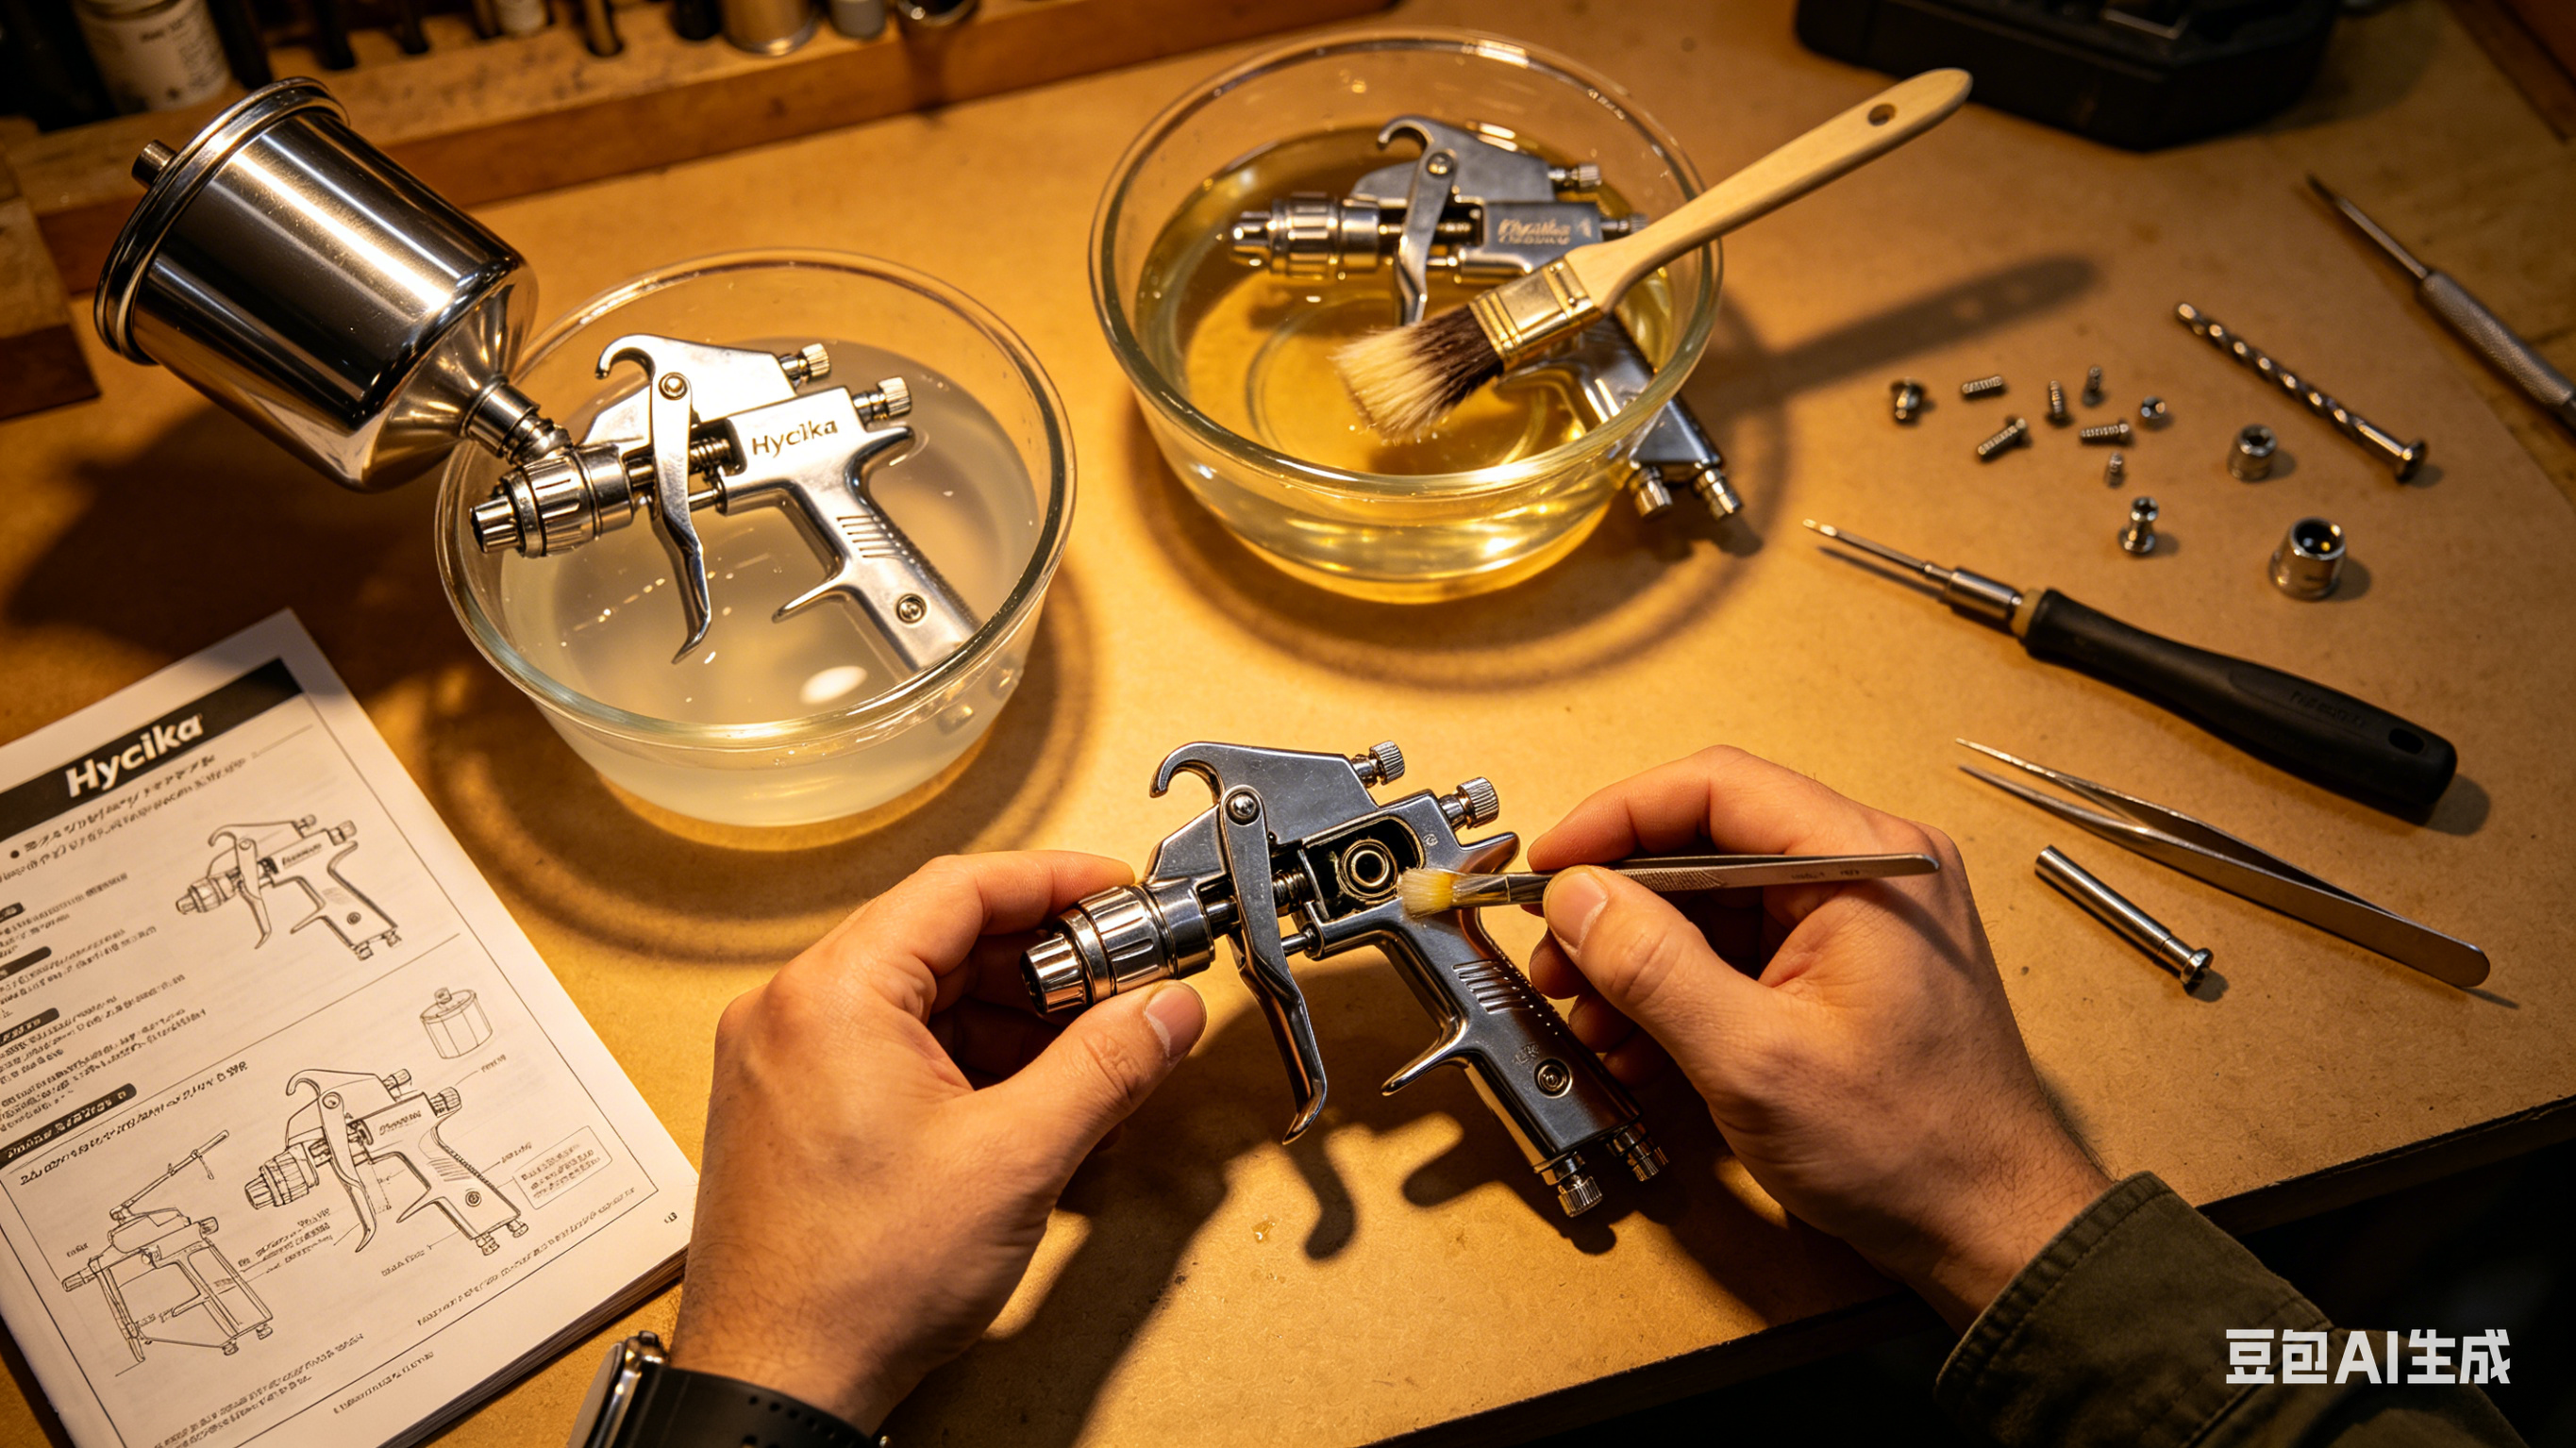

Why Does Your Nozzle Keep Clogging?
Whether you're a professional painter or a DIY enthusiast, nozzle clogs are the most frustrating problem.
But here's what many people don't realize: Different clog situations require completely different solutions.
-
Poking it with a hard object → May scratch the nozzle's inner surface, ruining fine atomization forever
-
Replacing the nozzle every time it clogs → Wasting money on clogs that could be fixed in 30 seconds
-
Leaving it soaking in cleaner indefinitely → Seals can corrode, causing air and paint leaks
This article provides 4 levels of solutions based on clog severity.
Level 1: Surface Clog (Fresh Paint, Not Yet Dried)
Symptoms:
-
Just finished using the spray gun, haven't cleaned it yet
-
Wet paint residue at the nozzle tip
-
Paint hasn't hardened
Solution: Flush Immediately (30 Seconds)
This is the easiest situation to handle – and the most important window of opportunity.
Steps:
-
Empty excess paint: Pour remaining paint from the cup back into the container (or use it up)
-
Rinse with solvent: Pour in appropriate thinner or warm water, close the lid, and shake vigorously for 10 seconds
-
Back-flush: Cover the nozzle tip with your finger and pull the trigger – this forces solvent backward through the nozzle, pushing out residual paint
-
Repeat 2-3 times until the sprayed solvent runs completely clear
✅ At this level, no disassembly or tools are needed. 30 seconds and you're done.
Prevention Tip: If you complete these steps immediately after each use – before paint dries – your nozzle will never reach a more serious clog stage.
Level 2: Semi-Dry Clog (Uncleaned for Several Hours to 1 Day)
Symptoms:
-
Hard, dried paint film on the nozzle tip
-
Air comes out when pulling the trigger, but little or no paint – or paint sputters intermittently
-
Poor atomization with visible particles in the spray pattern
Solution: Soak + Soft Brush Cleaning (10-15 Minutes)
The paint has partially dried. Rinsing alone won't work – soaking is required.
Steps:
-
Remove the nozzle: Use the included wrench or pliers (with a cloth to protect the surface) and turn counterclockwise
-
Remove the air cap: The small air holes in the air cap clog easily – remove it as well
-
Soak in solvent: Submerge the nozzle and air cap in专用 cleaner or brush cleaner for 10-15 minutes
-
Soft brush cleaning:
-
Use a soft-bristle toothbrush or nylon brush to clean the exterior of the nozzle
-
Use the included cleaning needle (or a guitar string/fine wire) to gently poke through from the exit side of the nozzle, moving back and forth
-
⚠️ Never insert from the threaded side – this can damage the precision orifice
-
-
Check air holes: Clean each small hole in the air cap with the cleaning needle. Hold it up to light to confirm they're clear.
✅ At this level, no replacement parts are needed. 10-15 minutes and it's restored.
Tool Recommendation: If you don't have a cleaning needle yet, consider a spray gun cleaning kit (includes multiple needle sizes + nylon brushes + small wrench) – buying the kit is better value than a single needle.
Level 3: Stubborn Clog (Uncleaned for Days to Weeks)
Symptoms:
-
Paint completely dried and hardened – the nozzle hole is fully blocked by solid chunks
-
Cleaning needle won't penetrate; solvent soaking doesn't work
-
Visible paint crust buildup on the nozzle exterior
Solution: Chemical Dissolution + Ultrasonic (Optional)
At this level, regular soaking is no longer effective. Stronger methods are needed.
Method 1: Strong Solvent Soaking (Try This First)
-
Use carburetor cleaner or heavy-duty paint stripper (regular brush cleaner won't be strong enough)
-
Fully submerge the nozzle and soak for 2-4 hours or overnight
-
Remove and try the cleaning needle again
-
If still blocked, repeat the soak
Method 2: Ultrasonic Cleaner (Advanced)
-
Place the nozzle in an ultrasonic cleaner with brush cleaner or paint stripper
-
Run for 3-5 cycles (3-5 minutes per cycle)
-
The high-frequency vibrations will break up dried paint inside the microscopic passages
Method 3: Heat Dissolution (Last Resort)
-
Boil the nozzle in water for 5-10 minutes (works best for water-based paints)
-
Remove and immediately try the cleaning needle
-
⚠️ Caution: High heat can damage rubber seals. Remove any seals before boiling.
⚠️ If none of the above methods work, the nozzle is permanently damaged. Continuing to force it will only ruin the precision. At this point, replace the nozzle.
Level 4: Irreversible Damage (Replacement Required)
Symptoms:
-
Nozzle orifice scratched by hard objects (e.g., poked with wire)
-
Spray pattern is permanently "striped" or "off-center" – no adjustments fix it
-
Visible deformation or chips at the nozzle tip
Solution: Replace Immediately – Don't Hesitate
When should you replace?
| Symptom | Diagnosis | Action |
|---|---|---|
| Spray pattern is "banana-shaped" | Nozzle orifice deformed or scratched | Replace nozzle |
| Spray pattern has a "hard center" (heavy in middle, light on edges) | Nozzle worn or unevenly clogged | Replace nozzle |
| Won't atomize no matter how you adjust air/paint flow | Nozzle or air cap severely damaged | Replace full set (nozzle + air cap + needle) |
| Visible chip or deformation at nozzle tip | Physical damage | Replace nozzle |
Cost Comparison:
-
Heavy-duty paint stripper: $10-15
-
Small ultrasonic cleaner: $30-50
-
Replacement nozzle: $10-20
-
New spray gun: $50-100
Bottom Line: If you've spent 2 hours trying to clean a stubborn clog and it's still blocked, replacing the nozzle is the smartest choice. Your time is worth more than a nozzle.
✅ HYCHIKA 600W HVLP Spray Gun Replacement Nozzle Set: Includes 1.3mm/1.5mm/1.7mm orifices – compatible with different paint viscosities. [View Details]
Prevention: Reduce 90% of Clogs Before They Happen
Why wait for a clog when you can prevent it?
| Prevention Measure | Effect |
|---|---|
| Clean immediately after each use | Eliminates 90% of clogs |
| Use a filter/strainer | Filters particles and impurities from paint – 180-200 mesh recommended |
| Stir paint thoroughly | Prevents undissolved particles from entering the spray gun |
| Choose the right orifice size | Thick paint → larger orifice (1.7mm+); thin paint → smaller orifice (1.3mm) |
| Replace seals periodically | Prevents air leaks that cause paint to backflow and dry inside |
FAQ
Q: Can I use a needle or wire to poke the nozzle?
A: Yes, but use the included cleaning needle or a guitar string (0.3-0.5mm). Regular sewing needles are too hard and will scratch the nozzle's inner surface. Never use wire.
Q: Can I leave the nozzle soaking in cleaner overnight?
A: Metal nozzles – yes. But if your nozzle has a rubber O-ring, don't soak for more than 30 minutes, or the seal will swell and deform.
Q: Is cleaning water-based paint different from oil-based?
A: Yes, completely different.
-
Water-based paint: Use warm water or专用 water-based cleaner. Do NOT use oil-based thinner (it will cause clumping).
-
Oil-based paint: Use mineral spirits, turpentine, or专用 brush cleaner.
Q: I replaced the nozzle, but it's still clogging. What's wrong?
A: Check the paint (expired or contains particles?), the strainer/filter (torn or missing?), and the air cap holes (still blocked?). If all are fine, the fluid needle may also be worn – replace both together.
Summary: One Chart to Know What to Do
| Clog Level | Symptoms | Solution | Time | Cost |
|---|---|---|---|---|
| Surface Clog | Just used, paint still wet | Back-flush with solvent | 30 seconds | $0 |
| Semi-Dry Clog | Unused for hours, partially hardened | Soak + soft brush + cleaning needle | 10-15 minutes | $0 |
| Stubborn Clog | Unused for days, fully hardened | Strong solvent / ultrasonic / boiling | 2+ hours | $0-$10 |
| Irreversible Damage | Abnormal spray pattern, physical damage | Replace nozzle immediately | 5 minutes | $10-20 |
Core Principle: Flush if you can. Soak if flushing fails. Replace only as a last resort. But if you've spent 2 hours and it's still not clean, replace it – your time is worth more than a nozzle