
Your roof rack is rusted. Your roll cage is peeling paint. You got a quote from a shop and thought, "That's a bit steep."
"What if I do it myself?"
I bet a lot of people have had that thought. I know I did—it's just spray paint, how hard can it be?
Then I actually tried it, and realized: it's not rocket science, but it's not trivial either.
This article is for anyone who wants to refinish their roll cage or roof rack themselves. I'll tell you how to do it, what you'll need, and where the hidden traps are. Read through it, then decide: roll up your sleeves and DIY, or just pay a pro.
1. First Thing: Is Your Situation Even DIY-Friendly?
Not every case is suitable for DIY. Check the table below and see where yours falls:
| Condition | DIY-Friendly? | Notes |
|---|---|---|
| Surface dulling/oxidizing, no rust | ✅ Yes | Just sand and spray clear or color coat—easiest scenario |
| Light surface rust, hasn't penetrated | ✅ Yes | Sand, remove rust, then paint—good for DIYers |
| Visible rust, metal surface is pitted after sanding | ⚠️ Maybe | You'll need anti-rust primer, an extra step, takes longer |
| Steel tube is rusted through or deformed | ❌ Don't bother | This isn't a paint job—replace the part |
| Chrome-plated parts with peeling paint | ❌ Don't bother | Chrome has terrible adhesion—DIY paint won't stick |
If you're in the first two categories, keep reading. For the last two, save yourself the headache and go to a shop or replace the parts.
2. What Do You Need?
DIY doesn't mean "grab a can of spray paint and go." Here's the minimum viable kit that doesn't cut corners. Most of these are available online:
Consumables
| Item | Purpose | Approx. Cost |
|---|---|---|
| Rust remover / Sandpaper (180, 320, 600 grit) | Sanding old paint and rust | $3-5 |
| Epoxy anti-rust primer (spray can) | Prevent rust from coming back | $6-10 |
| Color coat (custom-mixed spray can) | Apply color | $8-15 (varies by color) |
| Clear coat (spray can) | Gloss and protection | $5-8 |
| Masking paper / Masking tape | Protect areas you don't want painted | $3-5 |
| Degreaser / Wax remover | Clean surface before painting | $3-5 |
| Dust mask, gloves | Protect yourself | $3-5 |
Tools
-
Flashlight or work light (see what you're doing)
-
Rags / old towels
-
Cardboard or newspaper (catch overspray)
Total material cost: roughly $30-50 (less if you already have sandpaper and basic tools)
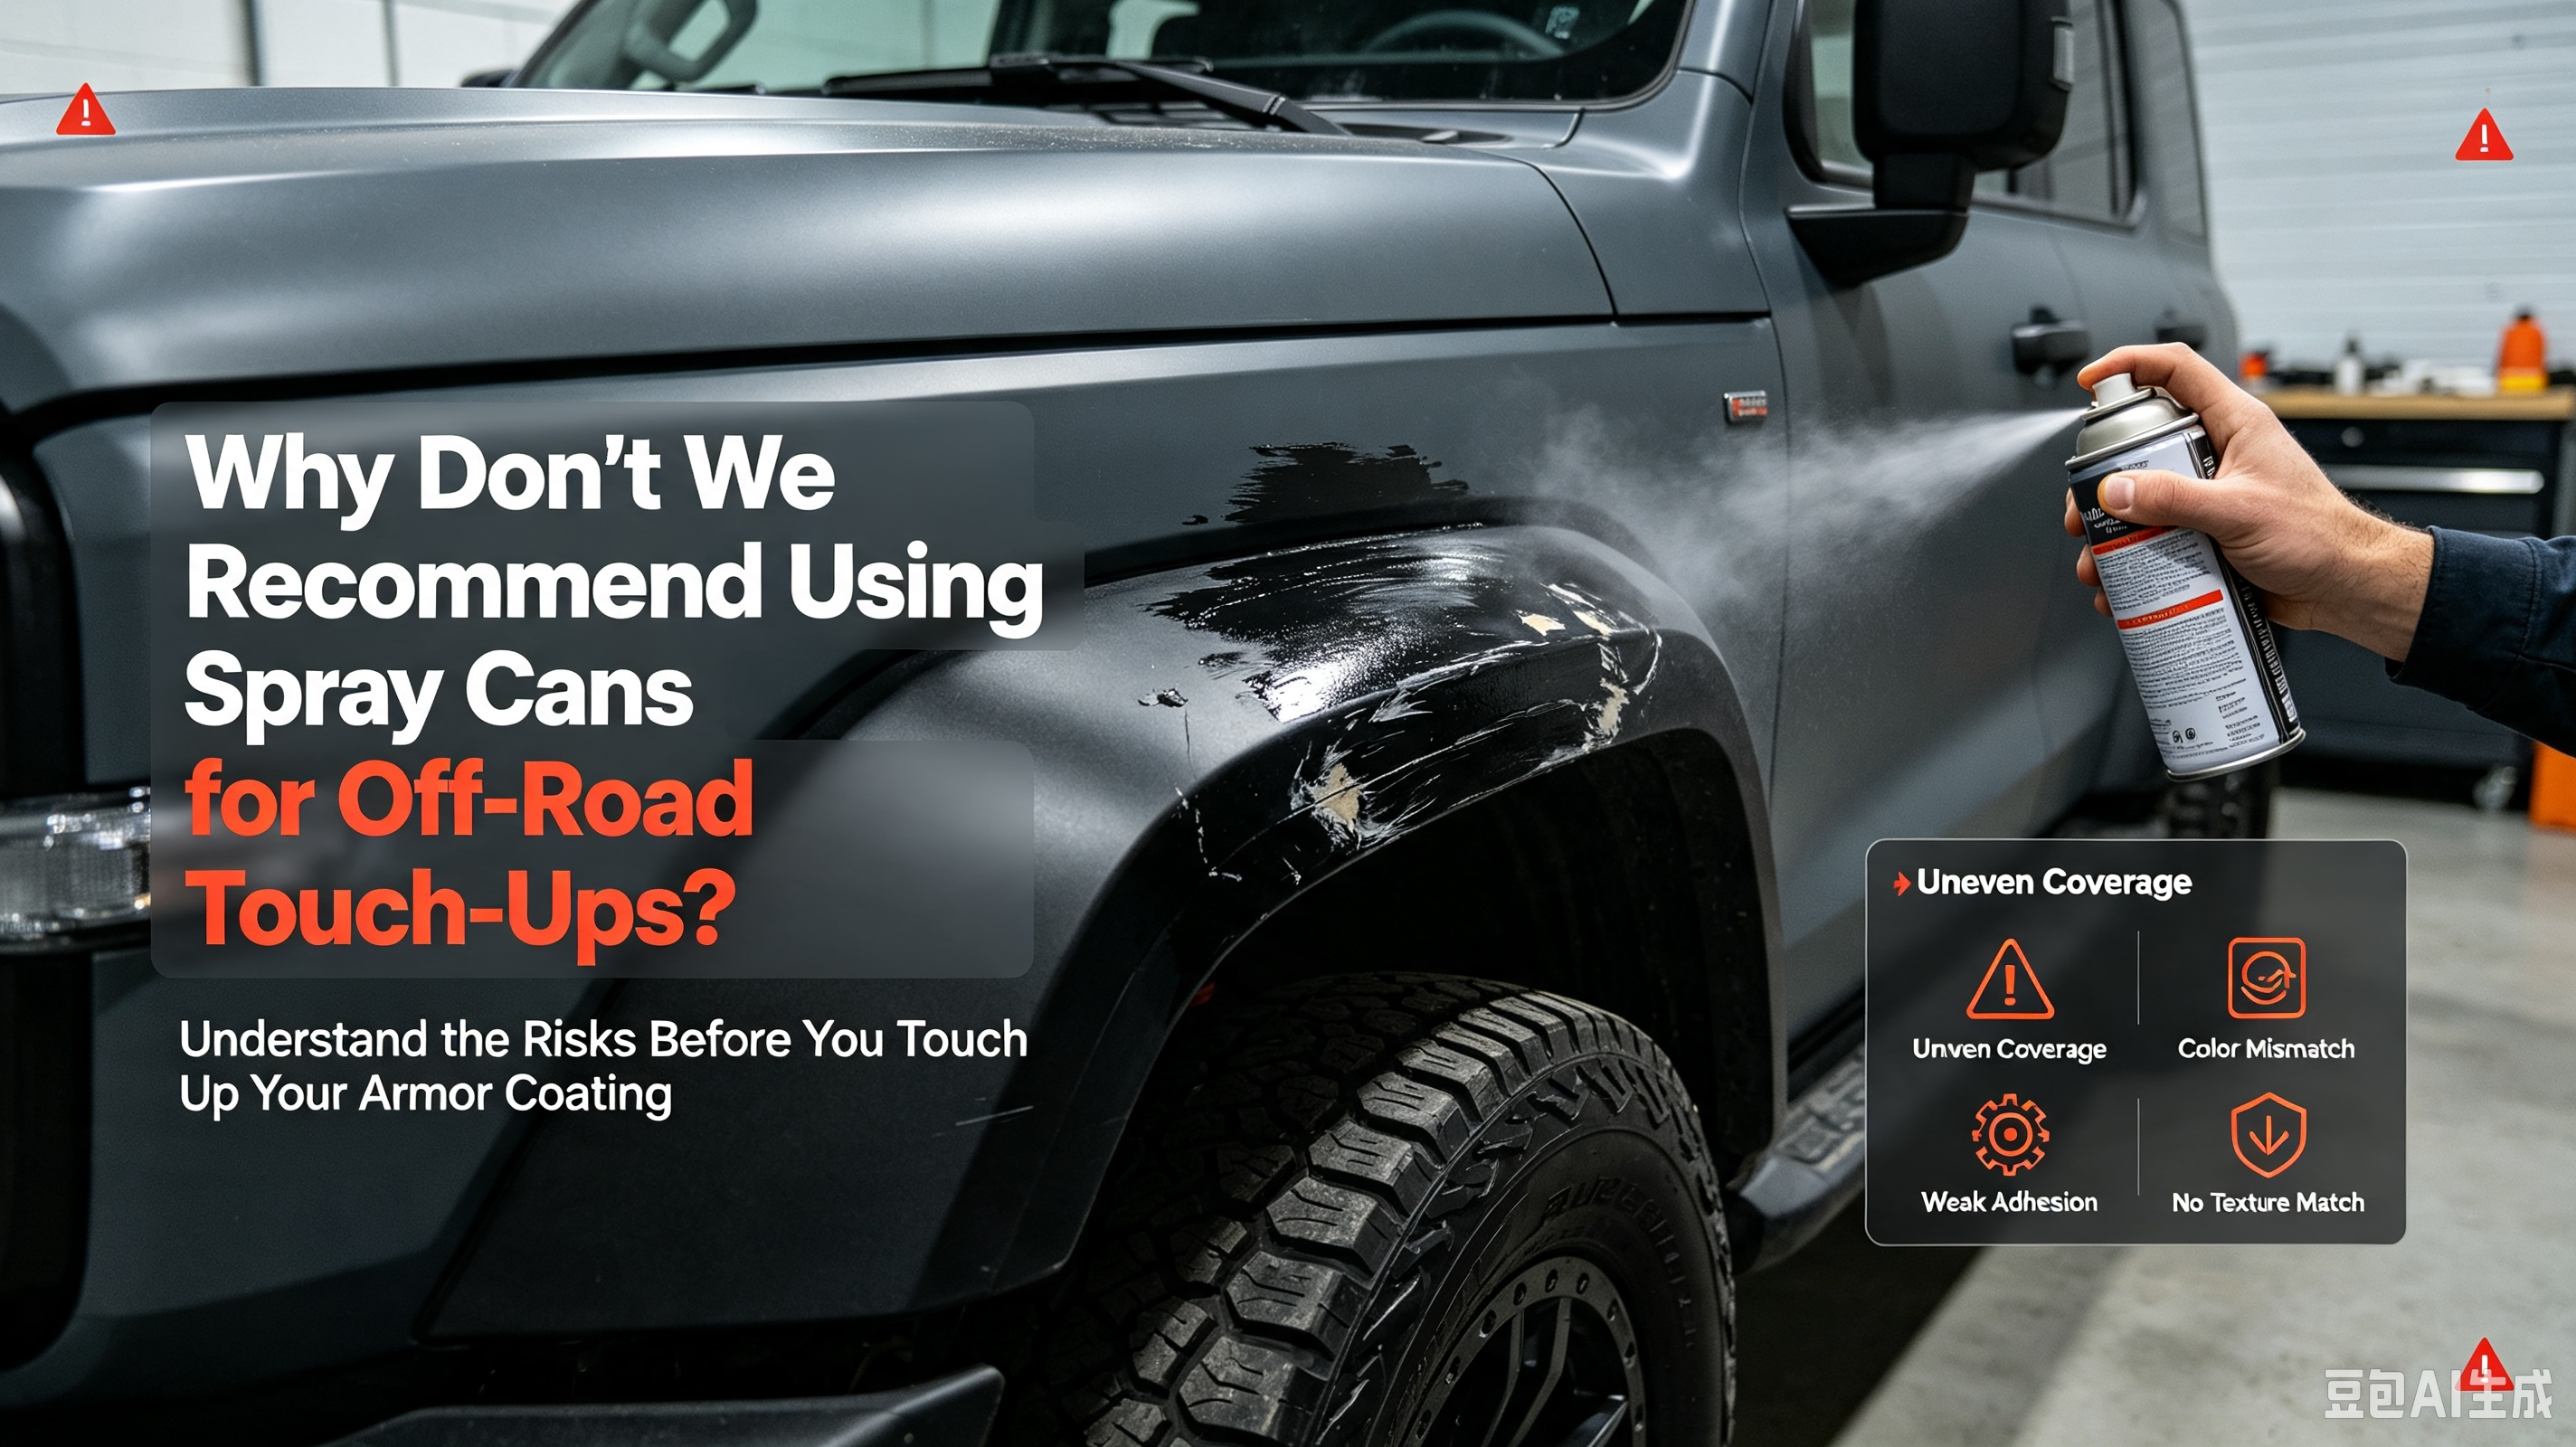
⚠️ Important: For the color coat, go to an auto paint shop and give them your vehicle's paint code. Have them custom-mix it and put it in a spray can for you. Do NOT buy "universal" colors—the color mismatch will be so bad you'll regret it.
3. Step-by-Step Instructions (Follow Along, One at a Time)
Step 1: Wash + Assess the Work Area
Wash the area you plan to paint. Not "looks clean"—actually wash it with car shampoo to remove surface dust and grease.
Dry it, then run your hand over the area. If it feels rough, that's where you need to sand. If it feels smooth, the existing paint is still good and can stay.
Use tape to precisely outline the area you want to refinish. This matters—you'll mask to these boundaries later.
Step 2: Masking (Most Time-Consuming, But Can't Skip)
Mask off everything you don't want paint on:
-
For roof rack: cover the roof paint, sunroof glass, windows
-
For roll cage: cover seats, interior panels, seatbelts, headliner
Rule of thumb: better to mask an extra inch than miss an inch. Overspray on unintended areas is a bigger headache to clean up than the painting itself.
Press down the edges of the masking tape firmly—don't let paint mist sneak in through gaps.
Step 3: Sanding & Rust Removal
This step determines whether your job succeeds or fails.
Use 180-grit sandpaper to remove old paint and rust until you see bare metal. A few tips:
-
Don't just sand the rust spot itself—extend 1-2 cm outward and feather the edges of the surrounding paint
-
Pay special attention to corners and welds—these hide rust the best
-
Run your hand over the surface when done—it should feel smooth, with no "step" between old and new areas
Blow or wipe off all dust with a clean rag, then wipe the work area with degreaser.
If you skip this or don't sand thoroughly, no paint will save you—rust will come back from underneath.
Step 4: Spray Anti-Rust Primer
This is what determines "how long it lasts."
Shake the primer can thoroughly for at least 1 minute. Hold it 6-8 inches from the surface. Apply 2-3 thin coats, waiting 5-10 minutes between coats for it to tack up.
-
Don't try to cover it all in one thick coat—it will run
-
The primed surface should look matte yellowish-green or gray—ugly but effective
-
Once the primer is dry (check the can, usually 30-60 min), lightly sand with 600-grit to knock down any rough texture
Step 5: Spray Color Coat
Shake the color can for at least 1 minute. Same approach: multiple thin coats. Spray the first coat, wait 5 minutes, spray the second, wait 5 minutes, spray the third.
-
Don't aim for full coverage on the first coat—color builds up
-
Keep your wrist moving at a steady speed—don't pause in one spot
-
If the color isn't deep enough after three coats, add another, but always wait for each coat to dry
After the color coat, the surface should look evenly colored, with some gloss and a slightly tacky feel.
Step 6: Spray Clear Coat
Wait for the color coat to dry (usually 30-60 minutes, depending on temperature), then spray the clear coat.
Clear coat gives you final gloss and protection. Again, 2-3 thin coats, and on the last coat you can spray a little wetter for a "mirror" finish.
After clear coat, don't touch it. At least 4-6 hours before you can touch it. Best to let it cure overnight.
Step 7: Remove Masking Tape
When the clear coat is dry to the touch but not fully hardened (about 30-60 minutes after spraying), peel off the masking paper.
Why this timing? If you wait until the paint is fully hardened, the paint film can pull up with the tape, causing chipping at the edges.
Peel slowly, pulling away from the painted surface, not toward it.
Step 8: Let It Cure + Final Inspection
For 24 hours after finishing: don't wash the car, don't let it get wet, don't put a cover on it. If possible, park in a garage or shaded area—avoid direct sunlight.
After 24 hours, inspect:
-
Any runs? (Minor ones are fine; obvious ones mean sanding and repainting)
-
Any missed spots? (Touch them up)
-
Is the color match acceptable?
4. Five Most Common Ways to Mess This Up (Must Read)
| Mistake | Consequence | How to Avoid |
|---|---|---|
| Not sanding thoroughly | Rust comes back in 6 months | Sand down to bare metal—don't be lazy |
| Skipping anti-rust primer | Same as above | This is not optional—it's mandatory |
| One thick coat | Runs and orange peel | Apply thin multiple coats—don't rush |
| Masking tape not pressed down | Overspray on paint/glass/seats | Press tape edges firmly with your finger |
| Buying generic color paint | Color mismatch so bad it hurts | Go to a paint shop and get custom-matched color |
Hit any one of these, and your DIY experience will go from "this is fun" to "I should've just paid a shop."
5. Quick Q&A
Q: How much difference between spray cans and professional spray guns?
A big difference. Spray cans don't atomize as finely, and the pressure isn't as consistent. But for roll cages and roof racks—"functional" parts rather than showpieces—spray can results are perfectly acceptable. Nobody's going to lean in and inspect for orange peel on your roof rack.
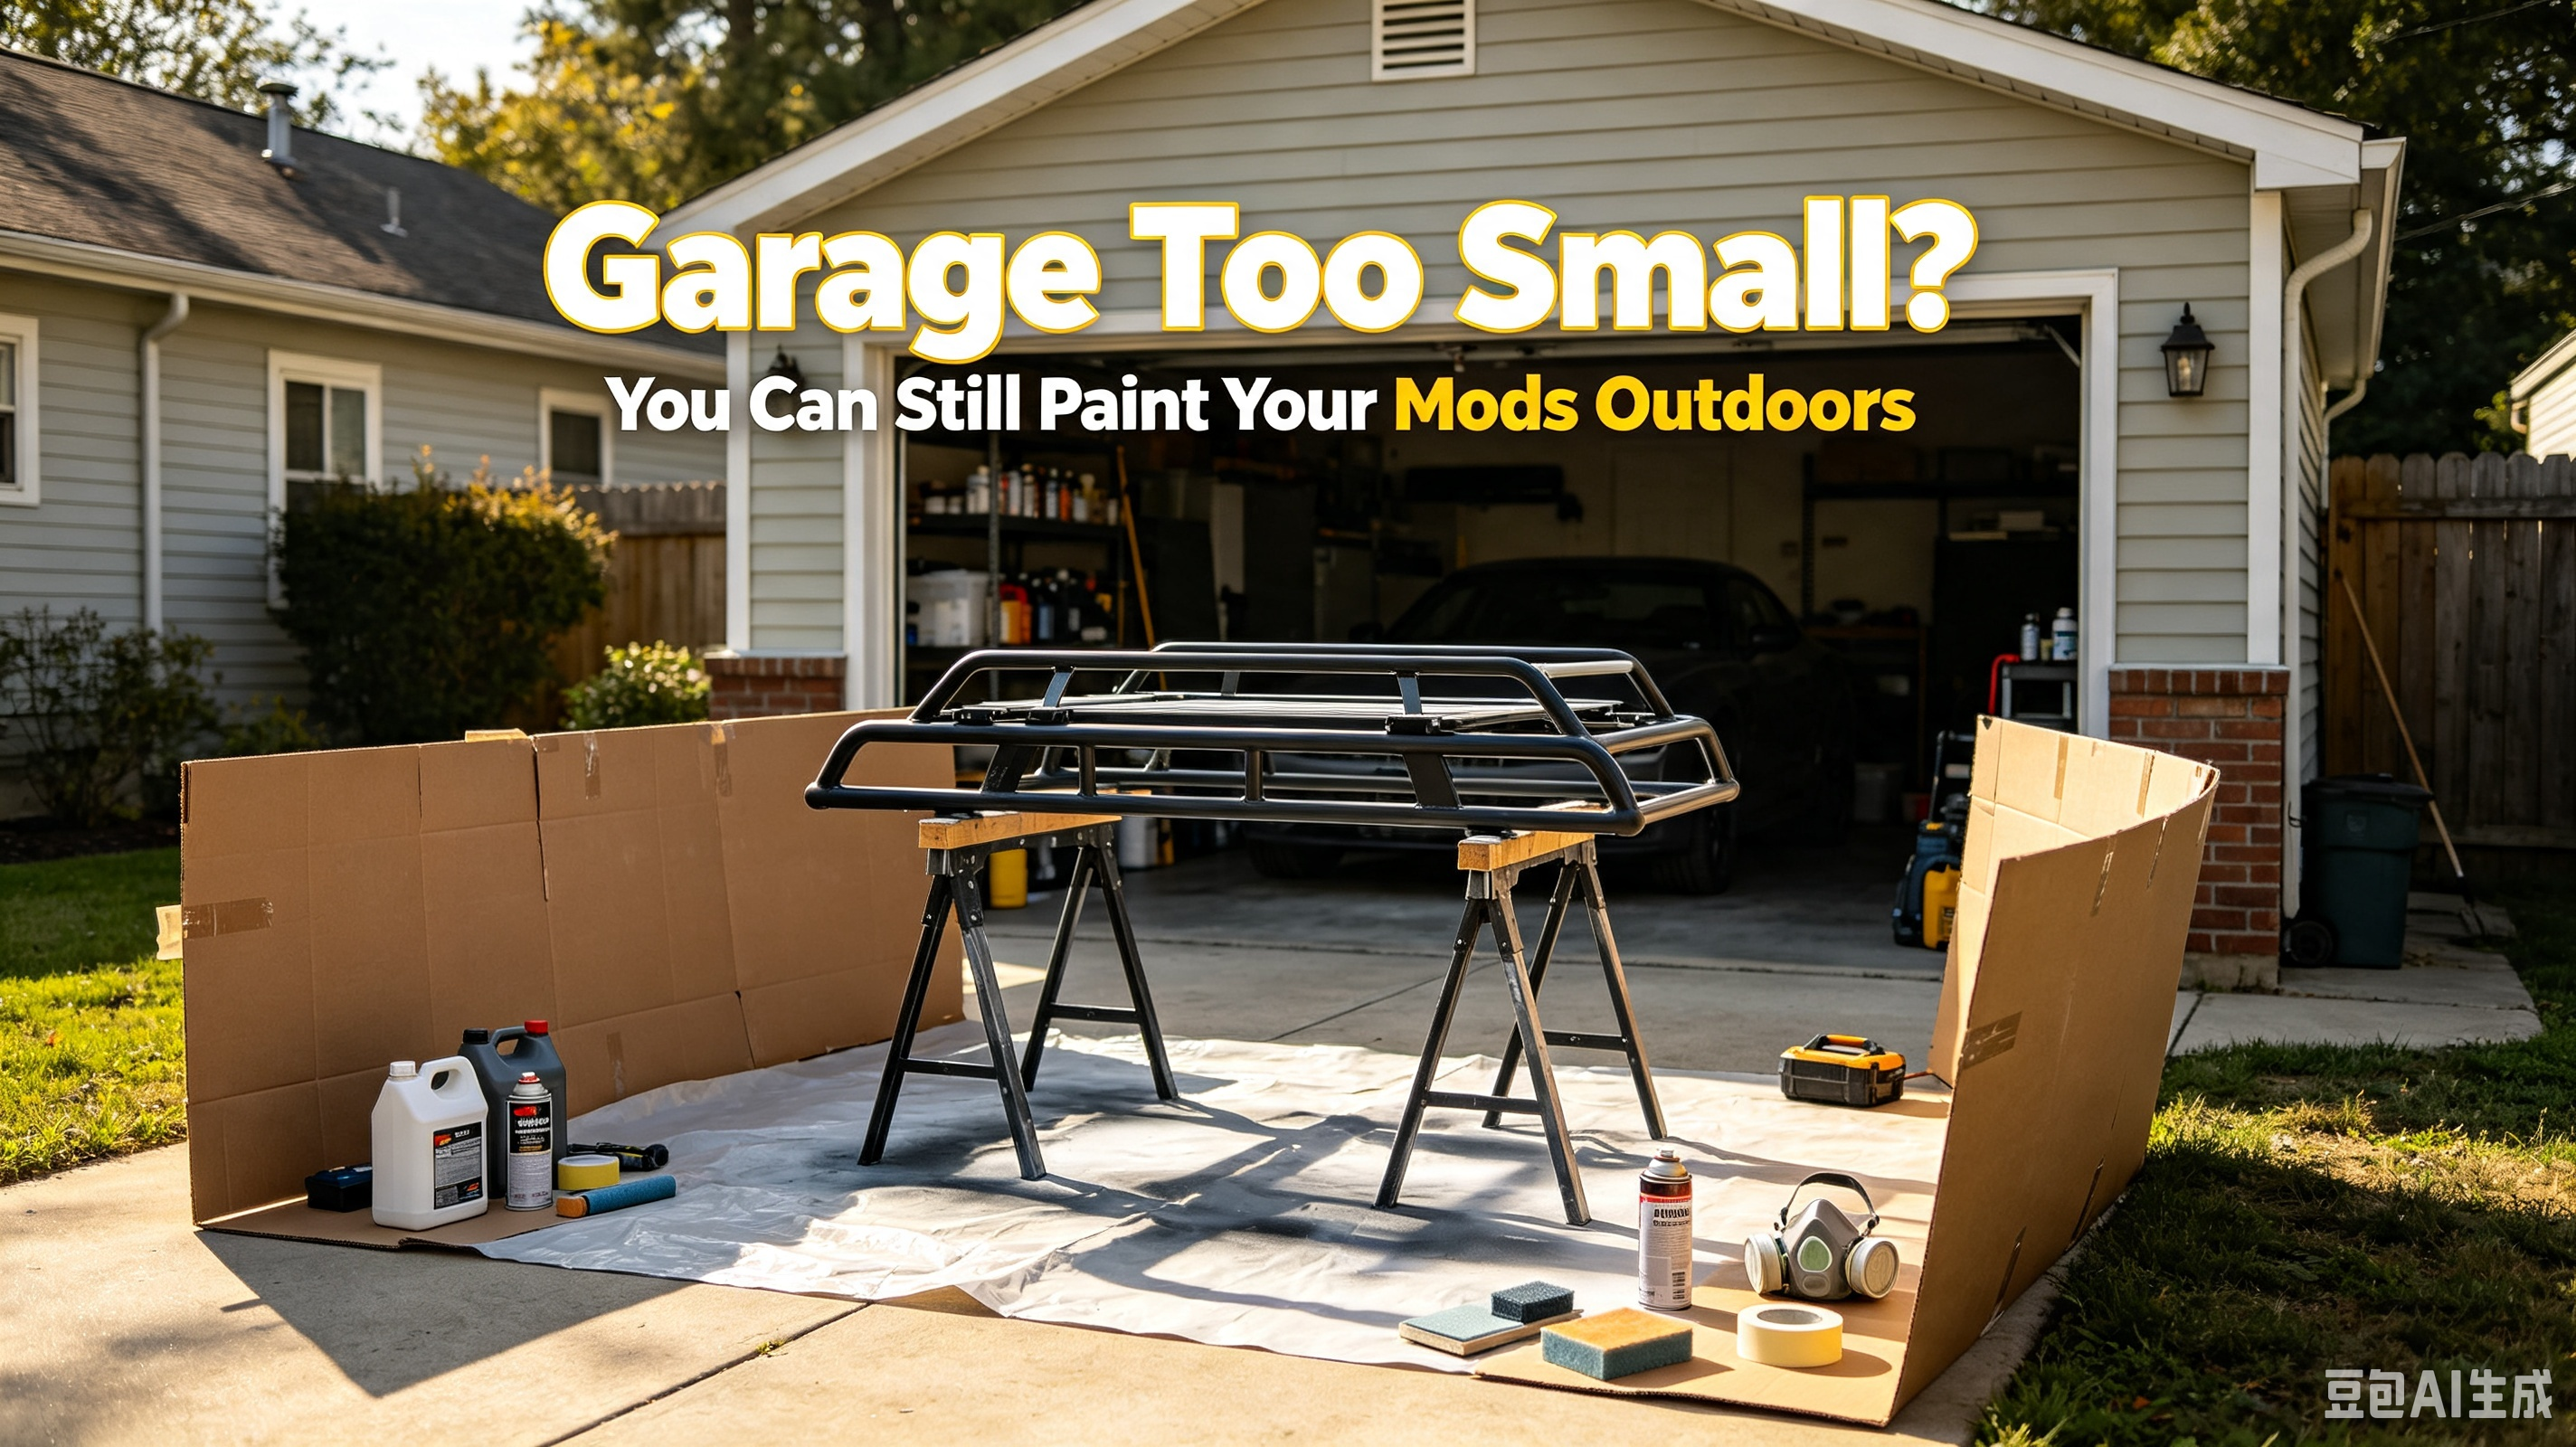
Q: Can I do this outdoors?
Try to find a wind-free, dust-free spot. Wind blows paint mist away; dust lands on wet paint. If outdoors is your only option, pick a clear morning and wet the ground down to settle dust.
Q: Can I do this in winter?
Below 60°F (15°C), paint flow gets worse and dry times stretch way out. Ideal temperature is 70-85°F (20-30°C). If you're in a cold climate, wait for spring or find a heated garage.
Q: What if the color doesn't match?
Color mismatch is the norm with spot refinishing. Don't aim for "perfectly identical." Aim for "can't tell unless you stare at it." If you absolutely can't live with any mismatch, your only option is a full respray or replacement at a shop.
Final Thoughts
DIY refinishing of your roll cage and roof rack isn't advanced science, but it is a job that demands attention to detail.
For $30-50 in materials and half a day to a full day of work, you save a few hundred dollars in shop labor—plus the satisfaction of knowing you did it yourself.
But the prerequisite: don't skip steps, don't rush, and don't go in with a "good enough" attitude.
Sand thoroughly. Apply anti-rust primer. Mask carefully. Spray thin multiple coats.—remember these sixteen words and you'll get a result you're happy with.
If you read through this and thought "that's too much work," then just find a shop. No shame in paying for convenience.
Whether you DIY or go pro, a clean-looking rig just feels better to drive.
Good luck! Feel free to come back and share photos when you're done. 😊
—Someone who likes tinkering on their own rig